How to change the brake
How to change the brake on your Micro Classic Scooter
Difficulty: 5/5
You will need: A vice, 2x 5mm Allen Keys, a hammer, punch tool, pliers, Loctite, 1x big screwdriver and 1x small screwdriver
Instructions
1. Flip your scooter upside down and fix the deck of the scooter to a vice

2. Using your 2x 5mm Allen keys, loosen and remove both axles from the back wheel fastening. Then remove the back wheel fastening, which is attached to the wheel from the scooter


3. Disassemble the pivot bolt using a punch tool and a hammer. Insert the punch tool into the left side of the pivot bolt (pay attention to the direction) and use a hammer to until the pivot bolt is sticking partially out the other end

4. Hold the spring and use your pliers to pull the pivot bolt to the right to pull it out. Remove the spring by pulling it out and then you will be able to remove the brake from the deck of the scooter


5. Get your new brake and place it back into the correct position

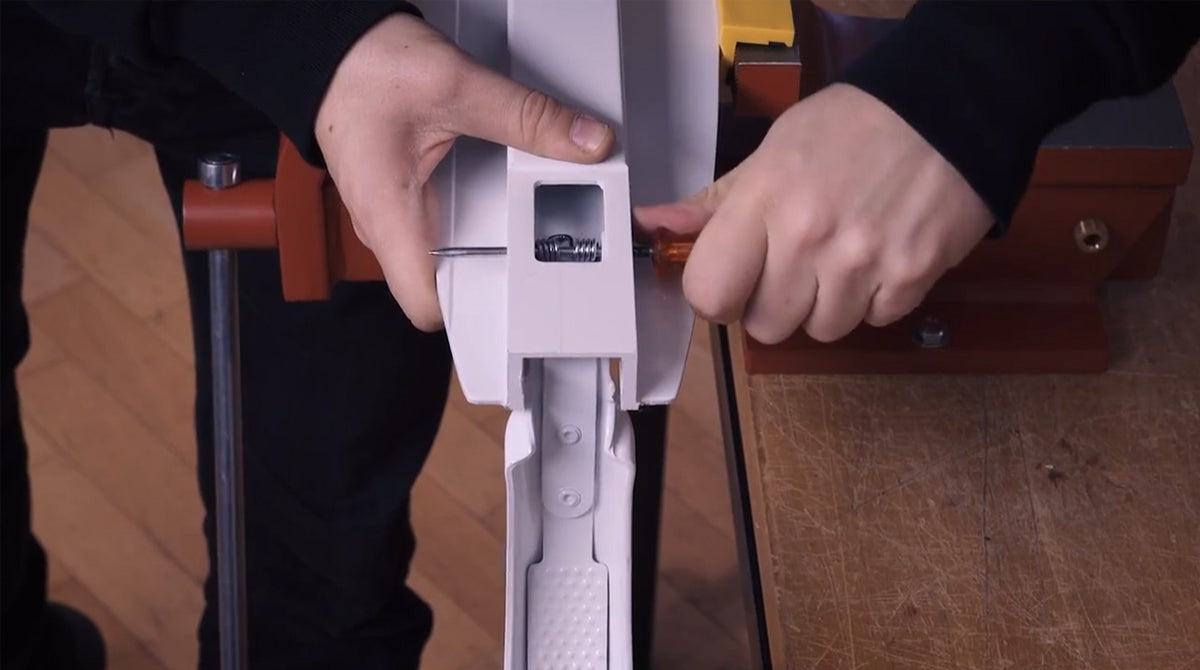
6. Position the spring using a small screwdriver as shown below. Once the spring is in position, remove the screwdriver partially so it is still sitting in the spring but not sticking out the left side of the scooter

7. Insert the pivot bolt on the left side of the scooter, using a hammer to nudge it into place. You may need to hold the handle of the screwdriver to keep the spring in place when inserting the pivot bolt

8. Position the bolt to slot through the hole at the other end using a large screwdriver. You may need to wiggle the brake a bit to position the spring correctly

9. Reassemble the back wheel fastening by slotting it back into place, ensuring that the holes on either side line up

10. Reinsert the axles through both holes. Use Loctite on the screws and screw them partially by hand into the holes. Using your 2x 5mm Allen keys, fasten these axles until they are tight


